
Dinner/ Fajita Board
Wrapping things up for dinner! (See what I did there?) If you have been following along my charcuterie board series, thanks for sticking around. To those new faces visiting, make sure to check out the breakfast + lunch boards!
Fajita night is a favorite around here so I thought, why not turn it into a dinner board?! Also, I’m slightly obsessed with grazing. From the bottom of my heart, I could eat from a meal board any day of the week. They’re so fun to build and look at, haha.
So let’s get right to it and the reason you’re here 🙂
What’s for dinner?
Coming up with dinner board meal ideas is not as easy as breakfast or lunch. Seems a bit more challenging arranging dinner foods on a platter. When building your menu for dinner, think of meals that can be eaten without silverware. Tacos, Fajitas, Flatbread pizza, etc…
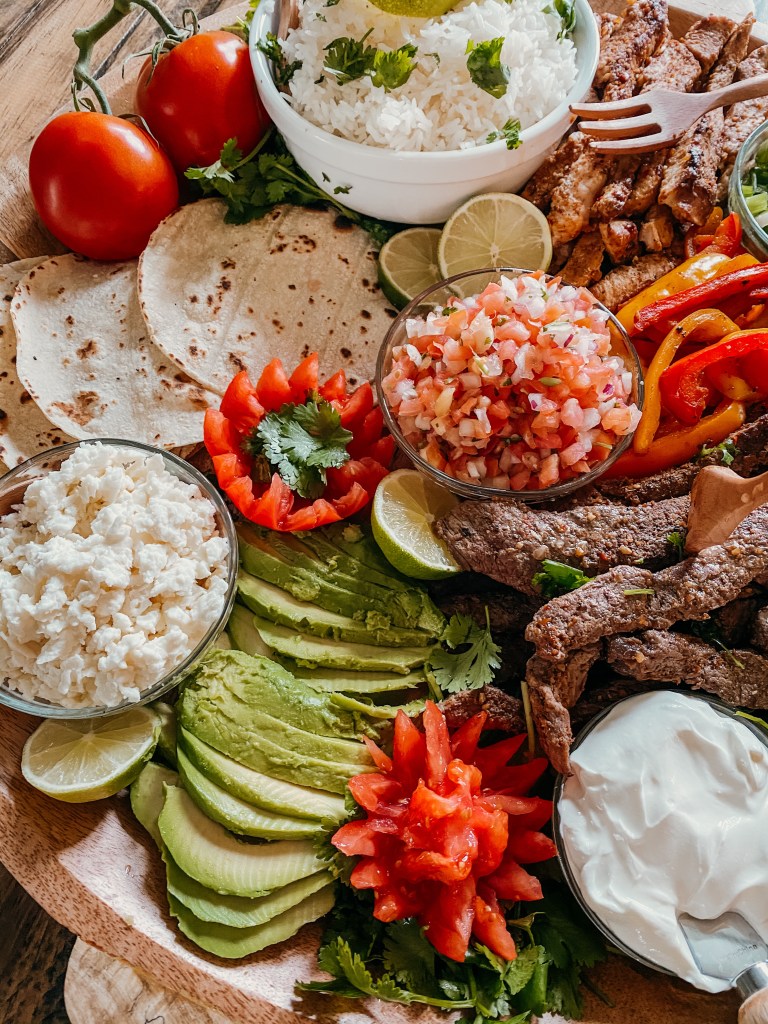
We went with fajitas because it’s a dinner I can fully partake in! I have a gluten free diet and having the option to substitute flour tortillas with corn tortillas is a huge plus.
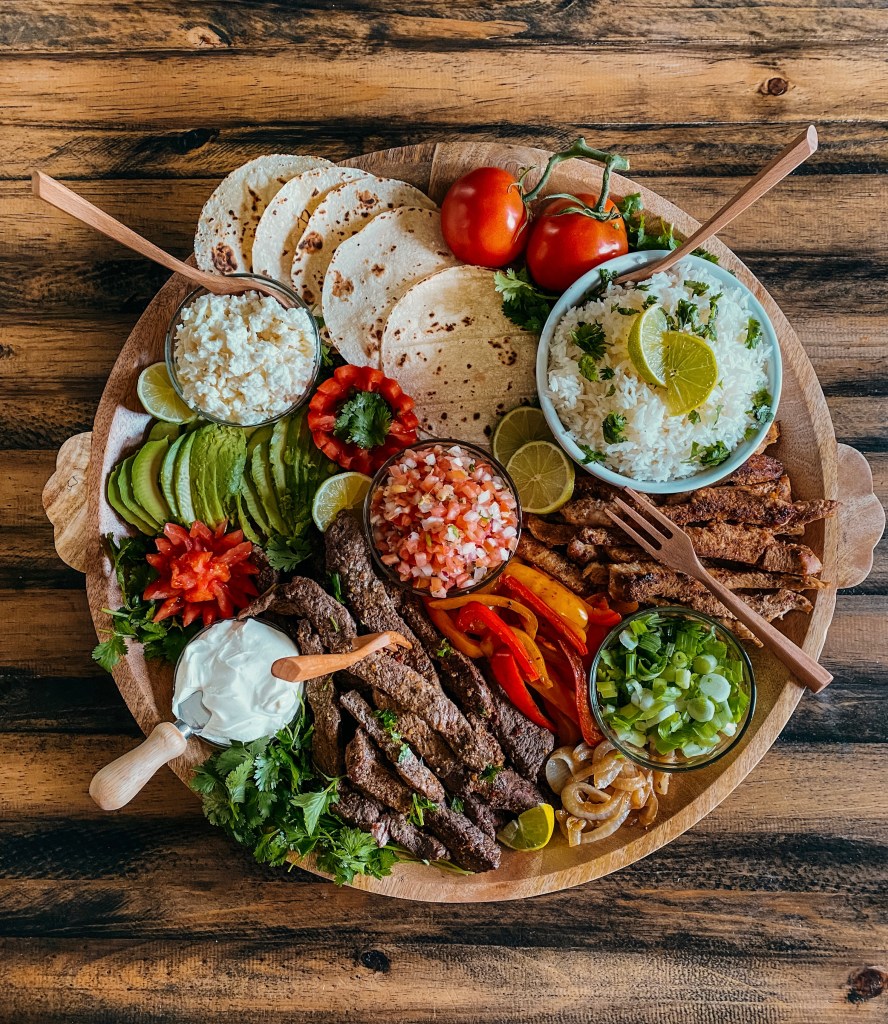
This board may look complicated but it’s simple to put together! If you’re wanting to try the Fajita board, think color. Use all the colors! Luckily, with this type of meal, you have tons of options.
The only part of this meal that took up time were the meats. I love steak strips and strips of chicken in my fajita, so it’s worth the extra meal prep time for me, ha
How to set it up!
If you’ve read my previous board blog posts, you know what I’m about to say. Start with the bowls/ condiment dishes first! Arranging those on the platter will help you visualize what will go where and it also gives you a good idea of how much space you’ll have to work with. Get creative with this step! Make it visually interesting.
This is also an important step because it’s a nightmare adding those dishes once everything is in place. Food shifts, things collapse, it’s not fun. So, DON’T SKIP THIS STEP!
After you’ve added your dishes, start adding in the “largest to smallest” items on your platter.
TIP: save the foods that spoil quickly for last! (Leave a blank space for them)
I added the avocados last but I made sure to leave the space open for it. I didn’t want them to turn before all was completely set up.
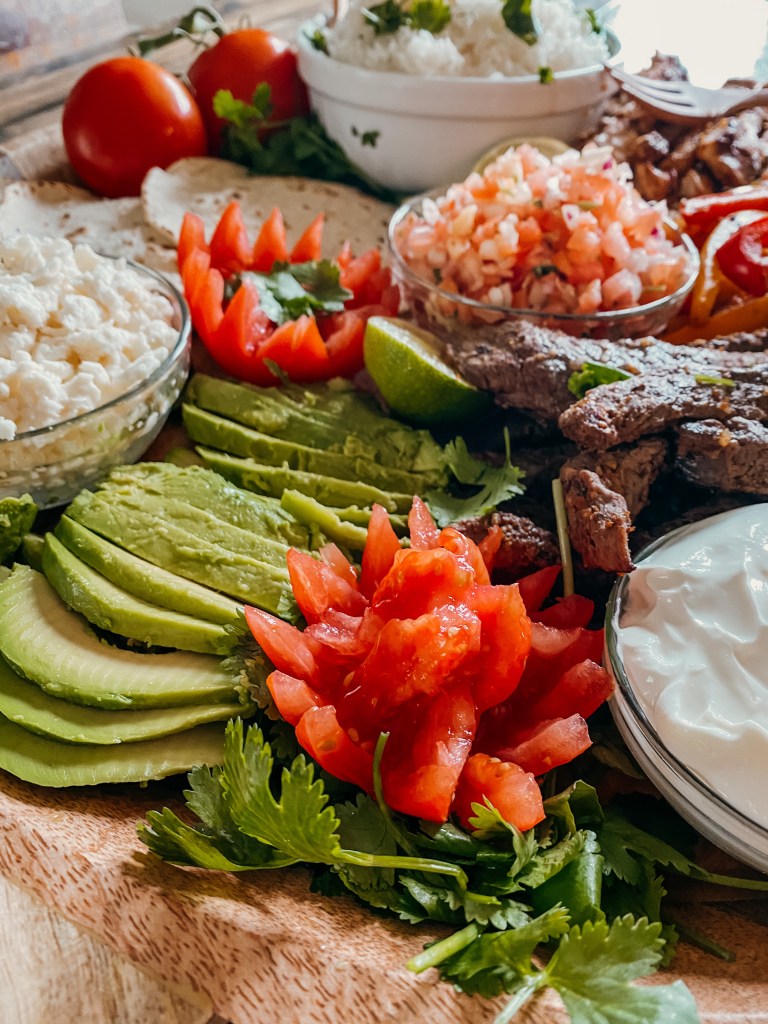
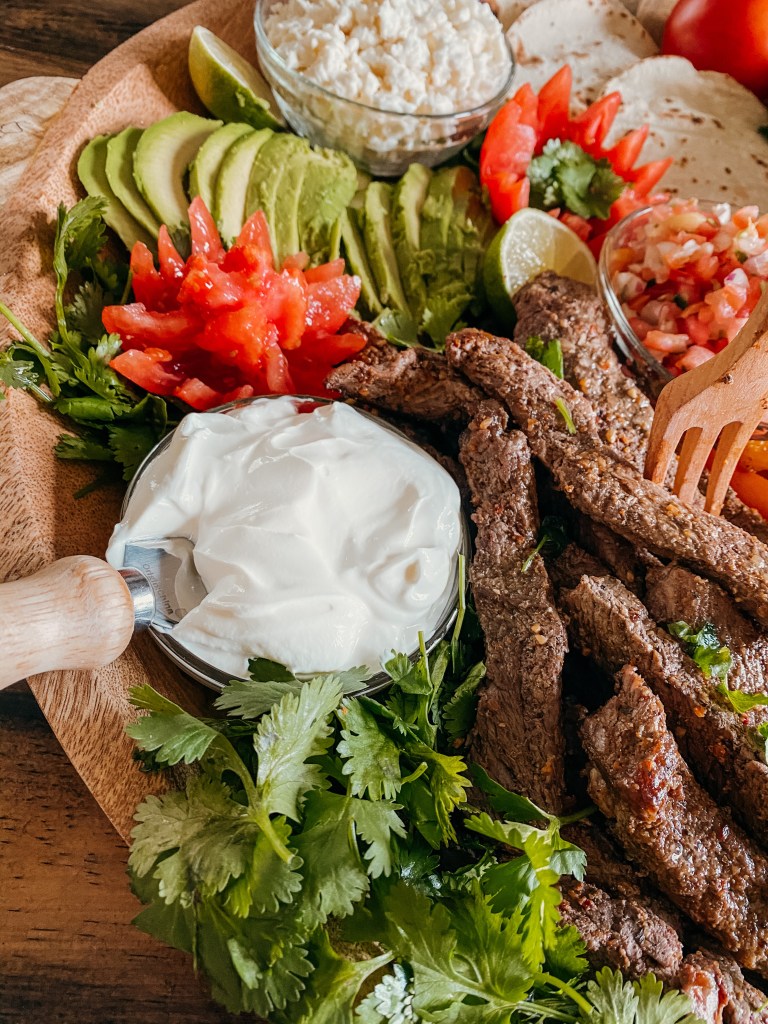
Arrange your foods with a balance of color + contrast! Try not to jam two of the same colors side by side. Also, if possible, try to contrast the textures. In this case, I had the sour cream right beside a fun tomato. I’ve never tried my hand at food art before this so, be kind. Ha!
Last but not least….
Once all of the foods are on your board and you feel good about placement. Go around with your “inspecting eyes” and look for those empty spaces that need to be filled up. The easiest and most obvious solution for me is to add herbs when it’s either lunch or dinner, and fruit when it’s breakfast. These work as amazing fillers and give your board an extra boost of beauty!
The cilantro was the herb I went with, I’m obsessed with it! I also threw in some lime slices to add variety.

Hope you’ve been inspired + learned a few new things! Stay tuned for a fun treat board, per the request of my kiddos 🙂
Stay healthy!
XOXO, terri

Comments