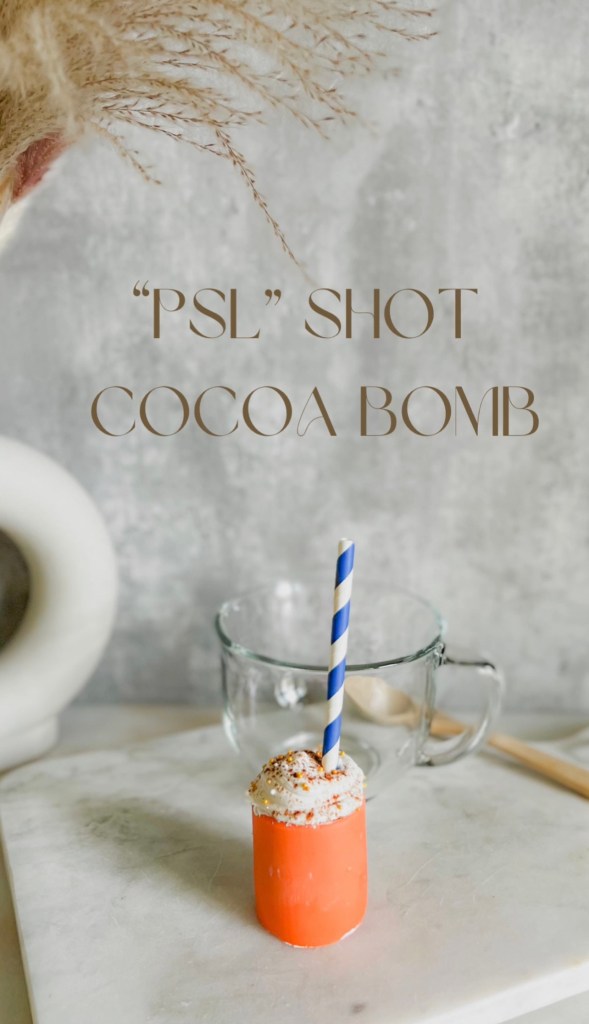
Cocoa Bomb Shot Glass
I had to. The moment I saw this shot glass mold, I KNEW I needed to find a way to make cute little cocoa bombs.
These are NOT hard to make but they do take a little patience, so if you’re not down to wait for the chocolate to harden, this is a hard pass for you. Once the chocolate is nice and dry, you’re ready to roll and it’s a breeze.
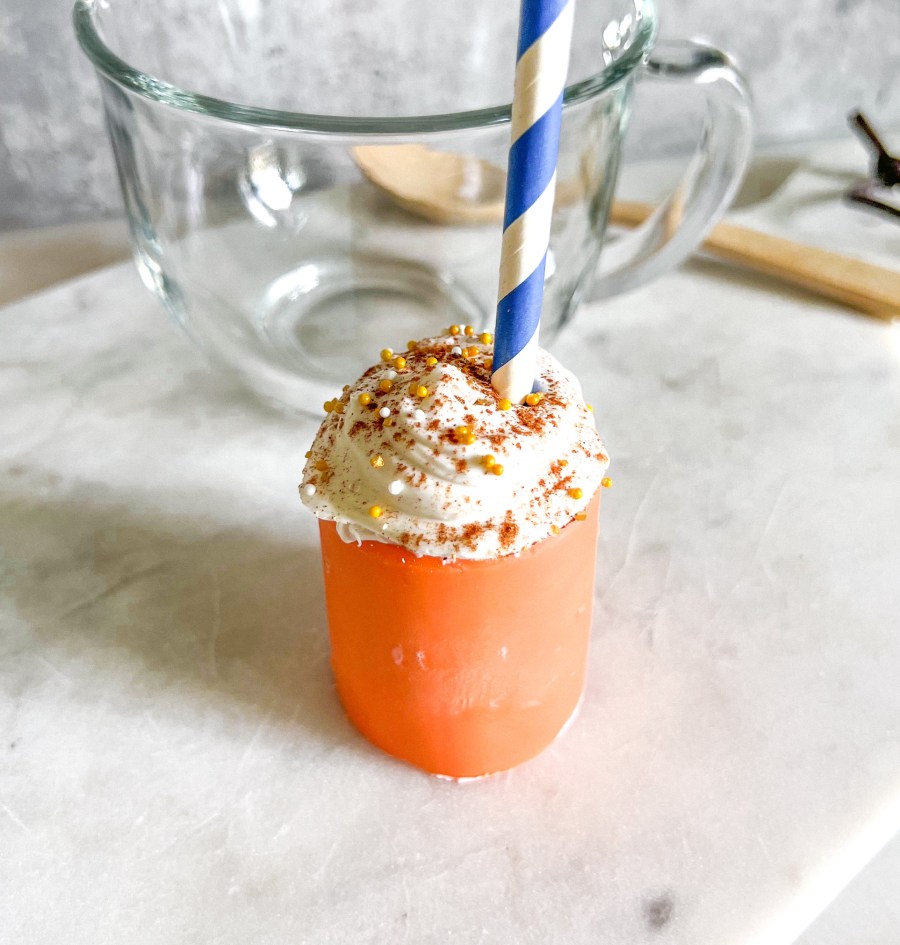
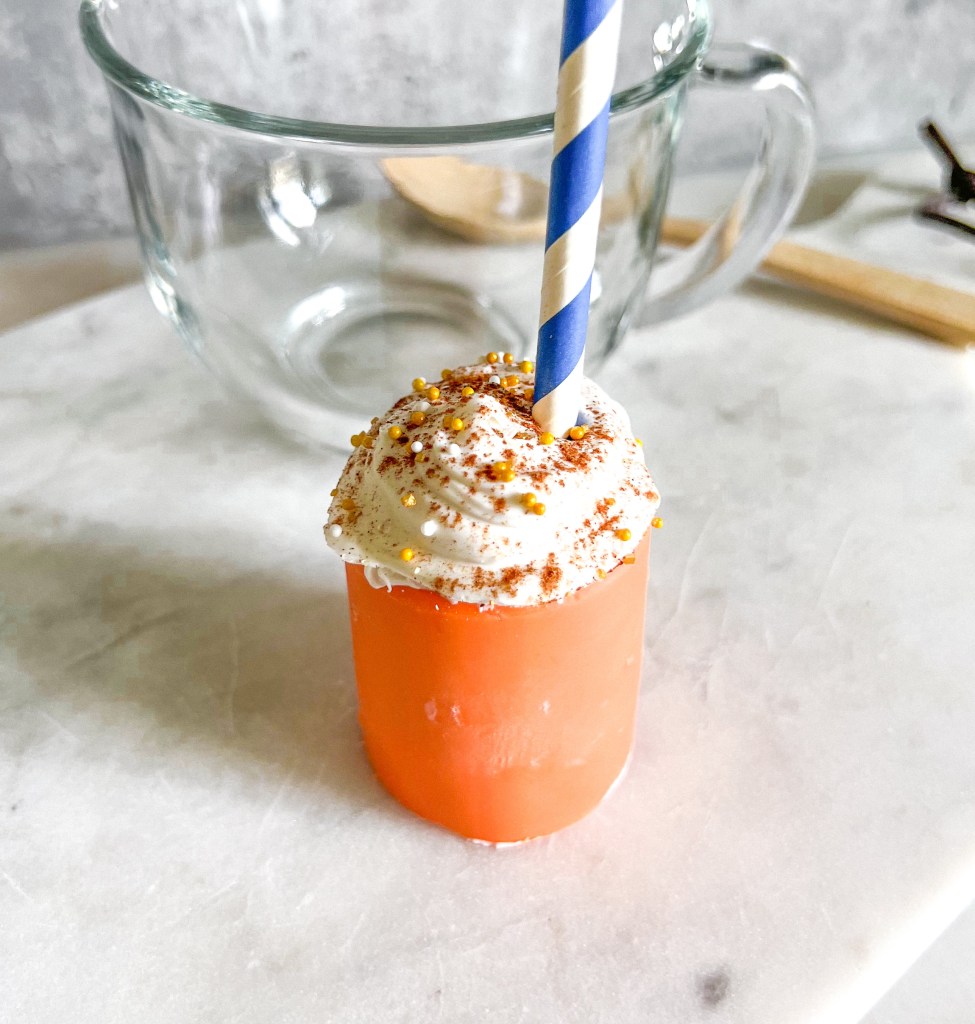
For my first shot glass cocoa bomb attempt I decided to make a mini “PSL” inspired hot cocoa.
What you’ll need …
Orange candy melts
White candy melts
Cinnamon for garnish
Sprinkles for garnish
Paper straws (cut in halves)
Parchment paper
How to make it …
Start by melting candy melts according to package instructions. I take a cup at a time and place in microwave for a total of 60 seconds, broken up into 30 second intervals. Mixing chocolate in between. It’s important to not overcook chocolate! If for some reason you do, add a teaspoon of vegetable oil to smooth it out.
Pour chocolate into individual cups of mold, according to the amount you want to make. Making sure to coat all parts of the cup extremely well. Tap mold on counter a few times to ensure it’s spread evenly (see tutorial video for example). Allow chocolate cups to dry and harden. Even though chocolate candy melts dry pretty quickly, don’t get overly confident assuming mold is ready before it’s time. I would let it sit in the fridge for at least an hour. Seems like an excessive amount of time to wait but nothing is more soul crushing than trying to take out your cup from its mold only to have the chocolate cup fall apart. It’s THE worst. Sooo just wait it out to make sure that doesn’t happen.
While you wait, make your chocolate “foam” topper. This is SO simple and the cutest little addition to give it a “PSL” vibe. Melt white candy melts and using a spoon place a dollop of chocolate onto parchment paper. Shape your dollop with spoon to mimic a foam swirl look. Once you’re happy with the shape, stick in half of a paper straw, sprinkle cinnamon dust, and sprinkles. Allow topper to dry on parchment paper before use.
Carefully remove chocolate cup from mold and fill with dry cocoa mix. Coat the rim of chocolate cup with a little of the leftover melted chocolate, this will be your “glue” to connect topper.
Place foam topper over cup and allow to dry before use.
That’s it! These are incredibly adorable and not difficult to make at all (I promise).
Make sure to watch tutorial video
Let me know if you give it a try!!
XOXO, terri
